Few elements of the culinary world carry the kind of stigma among college students that raw meat does. The threat of foodborne illnesses deters many amateur cooks from an entire world of recipes. Moreover, the wall of meats at the grocery store can seem intimidating.
In reality, avoiding the harmful bacteria associated with raw meat is simple. Figuring out the right cuts to buy just takes a little know-how. Cooking with meat can help save you money as you learn to make your favorite dishes at home.
When it comes down to it, what do you want to be doing next Fourth of July? Wearing a “Kiss the Cook” apron? Of course that’s what you want. Those aprons are hilarious.
Cuts of meat
Choosing the right cut of meat for a dish can be daunting.
When it comes to red meats, the main difference between cuts is fat content.
As a general rule, fattier cuts of meat need to be cooked longer. Generally, recipes call for these cuts to be cooked in a small amount of liquid for hours at a time — a technique called braising. The fat in the meat takes time to break down and turn into pure buttery flavor.
Dishes like pot roast, pulled pork and barbecue ribs are all the results of slow cooking cheap, fatty cuts. They’re blue collar meats, and guess what? They’re all completely delicious.
Leaner cuts like steaks and tenderloin require much less cooking time and are ideal for frying and grilling. As a result, these cuts tend to be pricier.
Storing
When you buy meat from a grocery store, a “use by” date will be printed on the packaging. Ideally you’ll get around to cooking the cut of meat by then. If you can’t, you can freeze it. Buying larger quantities of meat often comes at a decreased price per pound, so if you’re looking to save money, buy a bunch of meat and freeze the excess.
Meat can be stored for months at a time, in its original packaging or in an airtight container, but the texture and juiciness suffer.
There are three main methods to thaw frozen meat: in the fridge, in water and in the microwave. Moving the frozen meat to the fridge about 24 hours prior to cooking is by far the preferred method for thawing as it does not affect the texture.
For a quicker method, put the airtight bag into a bowl full of cold water. To prevent bacteria buildup, keep the bowl under a continuously running sink.
The fastest, and least recommended, method thawing method is the microwave. Wrap your frozen meat in paper towels and use the thaw or defrost setting on your microwave. The timing will vary greatly depending on the weight of the meat. Thawing with a microwave will affect the texture, though, making the meat feel rubbery.
Cooking meat
After coming into contact with raw meat, make sure to wash your hands before touching anything else. The same goes for any knives or cutting boards you use while handling meat.
If cooking the meat to proper temperatures worries you, you can invest in a thermometer. Otherwise, just check the coloring on the inside of any dish. Thoroughly cooked red meat is pale brown. Chicken should lose any pink tint and its juices should run clear.
With enough practice, you’ll develop the timing to know when meat is done without checking it. Slowly build your confidence with cheap, straightforward meat dishes:
Sautéed chicken breasts
2 boneless, skinless chicken breasts
Olive oil
Flour
Salt and pepper
Dried parsley
Lemon (optional)
Whenever you’re dealing with boneless, skinless chicken breasts, trim the clumps of white fat off the cuts.
Next, if your chicken breasts are more than about 1/4 inch thick, you’ll need to flatten them to ensure they’ll cook all the way though. Put the breasts between two sheets of plastic wrap and pound them with the bottom of a heavy pan.
Heavily season both sides of the breasts with salt and pepper, using about a tablespoon total.
Spread about a quarter cup of flour on a plate and coat the chicken entirely in it. This process is called dredging.
Heat olive oil in a large frying pan. If you don’t have a pan wide enough to fit both chicken breasts without them touching one another, you’ll have to cook them individually.
Gently lay each chicken breast in the pan. Sauté each side until it turns a nutty brown color, about 3-4 minutes per side.
Squeeze half a lemon over both breasts and spoon some of the pan drippings on top.
Serve alongside pasta or salad.
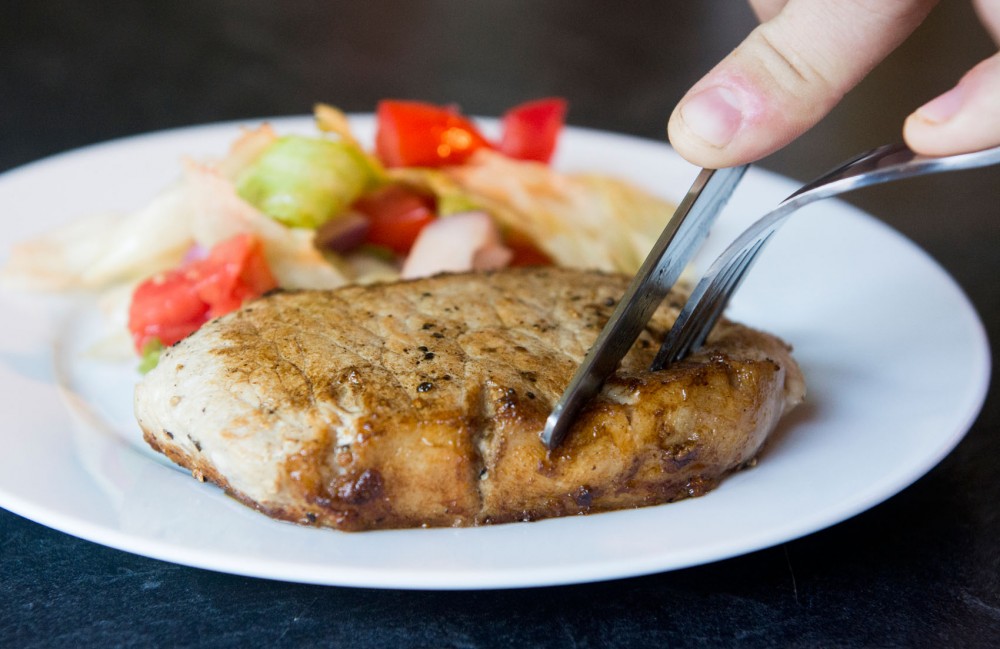
Pan-seared pork chops
2 pork loin chops, either bone-in or boneless varieties
Olive oil
Butter
3-4 cloves of garlic
Salt and pepper
Firstly, you’ll want to lay out your pork chops on your cutting board and pat them dry with paper towels. This helps the outside of the chops sear evenly.
Next, coat both sides of the chops in salt and pepper, pressing the seasoning in with your hands.
Crush the garlic under the flat side of a knife but don’t peel the skin off — you want the whole clove for this dish.
Heat a skillet over high heat and coat the bottom of the pan in olive oil. Lay each pork chop in the pan carefully.
While the pork chops are searing, add the crushed garlic cloves into the pan.
After frying both sides for 2-3 minutes, add in a tablespoon or so of butter.
Spoon the pan drippings over each pork chop. Basting them like this helps cook the chops evenly and prevents the meat from drying out.
Serve with any kind of potato or vegetable dish. Revel in the hunk of beautiful meat you have brought into this world.